
Your RV’s thermostat informs your system whether to adjust the temperature inside to a higher or lower level.
You might be surprised to hear that the thermostat in your RV is prone to malfunction, which results in the ineffective operation of the A/C and heating system.
If the screen on your RV’s thermostat is blank or if it doesn’t react to temperature changes, it might be broken.
Possible Symptoms:
- Temperature is different from what the thermostat is set to
- Display issue on the thermostat panel
- The thermostat may not work or not be powered
- A/C or heat may not work
- The heater or A/C doesn’t stop running

What to Do to Fix the RV Thermostat Problems
At some point, every problem has a solution. You can fortunately diagnose, repair, or replace your thermostat yourself in a matter of moments.
You simply need to have a basic level of familiarity dealing with electricity and observe all safety requirements.
1. Check if the Thermostat is Set Properly
This step is relatively simple; however, a lot of individuals miss it. In actuality, the initial step in this process is to confirm that the thermostat is indeed set to the appropriate temperature.
Make sure it is set to heat if you want to heat it during the cold season or if you want to cool it down during the summer. Additionally, the setting can be on ON if the AC is operating nonstop. If so, it won’t stop running; it will simply keep running.
If the AC keeps running you should turn the air conditioning or heating to automatic mode, which constantly modifies the heat depending on the setup and the RV’s temperature.
2. Examine the Fuses and Batteries
Your thermostat might be powered by batteries, and if the batteries run out, the thermostat won’t function. It’s good for you if you replace a few old batteries to get the system working again. If it doesn’t work, try another way to solve the problem.
Without a battery, the RV’s electrical system will be used to operate your thermostat. You’ll need to check the fuses if you’re using a 12V-powered thermostat. You should replace the fuse if it gets damaged or broken.
Use a fuse that is the right size if you want the fuse to work. The fuse will frequently blow if you use one with a lower value.
3. Make Sure to Adjust the Thermostat
Your thermostat might occasionally not be operating correctly because something in the circuitry isn’t working correctly. It might happen that the software is having issues which can be another reason why the thermostat sometimes also stops working.
If you see such an issue, you need to consider turning the putting the thermostat back to its default settings. For detailed instructions on how to reset the thermostat, follow the YouTube link below.
4. Reduce or Raise the Temperature of the Thermostat
Set the heater’s temperature to 5 degrees higher than the outside air temperature if you detect that your thermostat is malfunctioning during the cold season.
You should hear a clicking sound while adjusting the settings, followed a short while later by the sound of air blowing or sucking. Continue to the next step if this stage of troubleshooting doesn’t work out.
5. Ensure the Batteries are Functional
Digital thermostats, which frequently include batteries, are a standard part of contemporary RVs. Change the batteries to solve the problem if all that is wrong is with them.
Keep in mind that a digital RV thermostat’s battery should be changed at least once a year. After you replace the batteries, there’s still a chance to have an issue with the thermostat. In such a case, wiring is to blame.
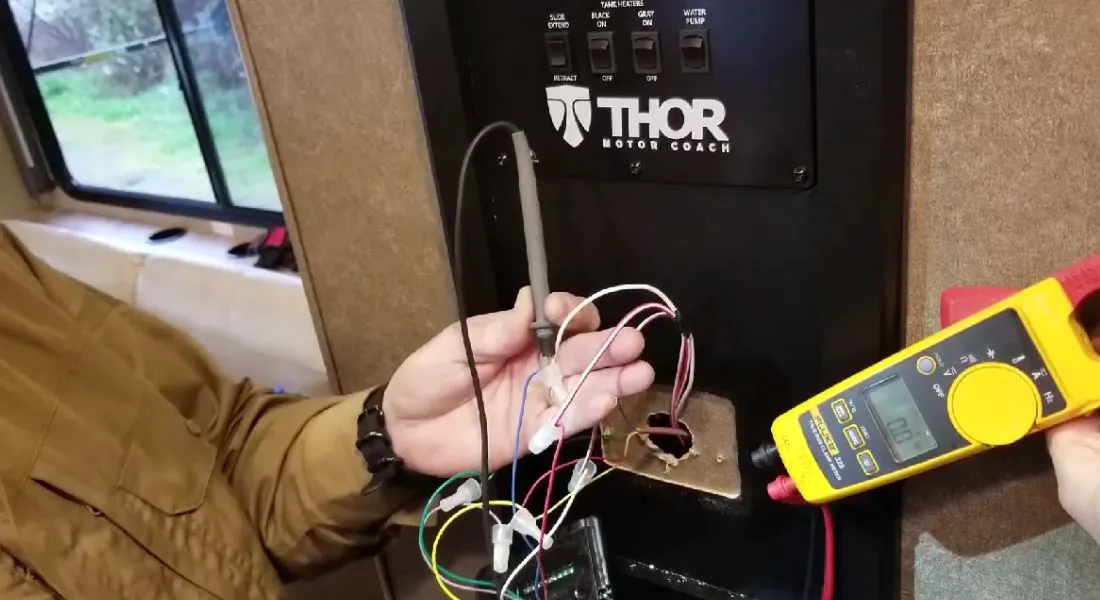
6. Check Each Wire and Connection
To see if any wire is damaged, inspect it all. Make sure that the wires are all in decent form, that they aren’t worn, and that everything is attached to the appropriate connections.
You can inspect everything if you have mechanical knowledge. If you don’t notice any physical damage, you can try unplugging all of the wires before plugging them back in.
READ ALSO: RV Furnace Blower Comes on But Won’t Ignite: What’s The Solution?
Thermostat Reset: How Do I Do It?
One of the simplest solutions to many problems is to gently reset the thermostat, provided there are no wiring difficulties or thermostat damage.
Let’s take a quick look at each of the various typical approaches to resetting the typical RV thermostat.
- Depending on the thermostat, you may only need to insert the battery improperly during the first five seconds of operation. Most thermostats with batteries may be reset using this.
- If your thermostat is electrical and not battery-operated, you must probably cut off the power to it for at least 30 seconds to reset it. Decide whether to remove the fuse or turn off the breaker. Restarting the power after waiting for 30 to 60 seconds is advised.
- Even some thermostats have specific, recessed reset buttons. You must push this reset button for at least 10 seconds using a thin object, such as a paper clip or a pen.
How to Replace the Thermostat in Your RV?
I’ll show you exactly how to replace your RV’s thermostat in this step-by-step explanation. It is worth noting that you should replace the thermostat with the same one when it gets old enough.
- You must turn off the fuse or breaker that supplies power to the thermostat to cut off the power. Never attempt to repair an electrical gadget while it is still receiving power.
- You can insert a Flathead screwdriver under the small notch on the panel’s side.
- To remove the thermostat’s housing, use a screwdriver.
- The screws linking the thermostat to the wall must all be removed.
- Label the wires after disconnecting them one at a time.
- Twist the appropriate wires from the new thermostat into the existing wiring of your RV, leaving the ends of the wires exposed.
- Reattach the cover after screwing the thermostat again to the wall and connecting the wires.
- Now that the thermostat has electricity again, you may turn on the breaker as well and check to see whether the thermostat functions.
How Often Should I Replace or Upgrade my RV Thermostat?
If you need to modify or replace the thermostat in your RV, there are two main considerations. First and foremost, you need to rebuild or update it if it just no longer functions. The wire will need to be replaced if the damage is severe enough that it cannot be repaired.
In addition, you may find some physical damages which you should repair, such as those to the display or the control unit itself. You’ll need to replace the unit.
It’s also important to keep in mind that the average lifetime of RV thermostats is between 10 and 15 years. Thus, if your thermostat pasts more than 10 years and is having issues, it is time to replace it as the repairing won’t work here.
Frequently Asked Questions (FAQs)
What occurs when a thermostat malfunctions?
The HVAC system may start and stop abruptly if the thermostat malfunctions. Thus, rooms closer to the HVAC system receive chillier or hot air, while those farther away receive less of either.
Can I use a typical thermostat in an RV?
Since most thermostats are made to operate off 24-volt AC power sources, which is more than most RVs can provide. Thus, they cannot be used inside an RV.
What happens if a thermostat is improperly wired?
Electric shock is one possible result of poor wiring installation. The circuit breaker may blow, causing damage to the electrical system, the thermostat, or even the AC or furnace equipment.
Conclusion
While the thermostat in your RV is a useful device that tells the system if it needs to make the inside hotter or cooler, it can occasionally put you in pain by malfunctioning.
However, the article has covered the possible solutions to the problems that the thermostat may come with. If any of the mentioned problems arise, you will at least know how to solve the issues.
